Ubuntu 24.04.1 操作系统安装
- 随记
- 2025-02-11
- 678热度
- 0评论
1、下载镜像
通过国内源下载ubuntu24.04.1镜像,推荐清华源,阿里有限速。
本书以最新版从0开始讲,并以实际案例结合
2、安装虚拟机
此步骤省略,请根据自行环境准
3、安装 ubuntu24.04.1
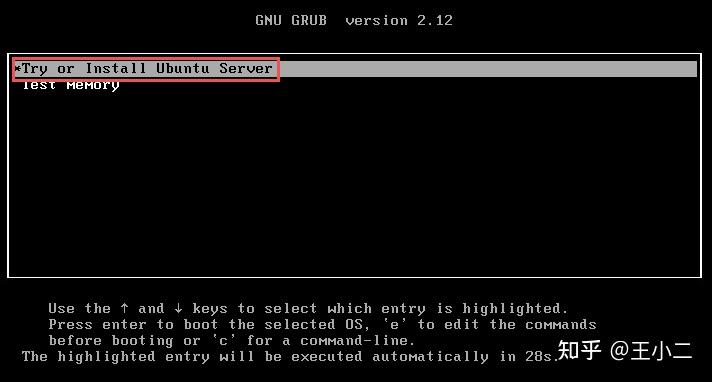
3.1、选择try or Install Ubuntu Server,回车
3.2、语言选择English,回车

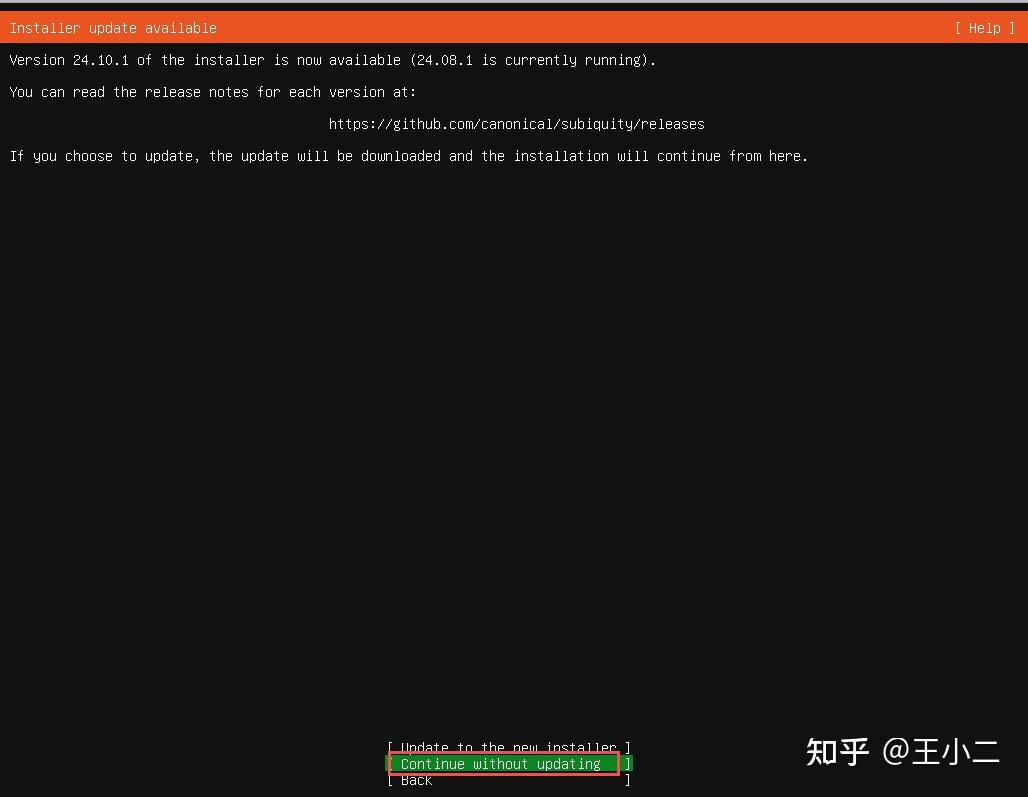
3.3、不安装更新
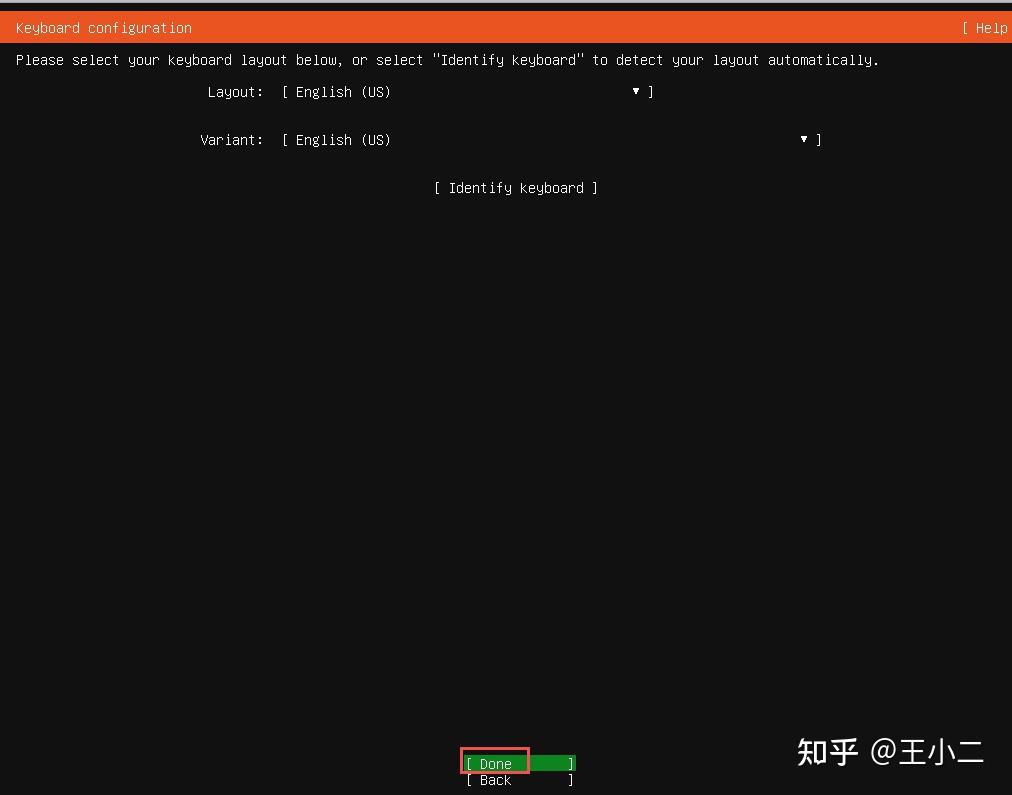
3.4、键盘配置,回车
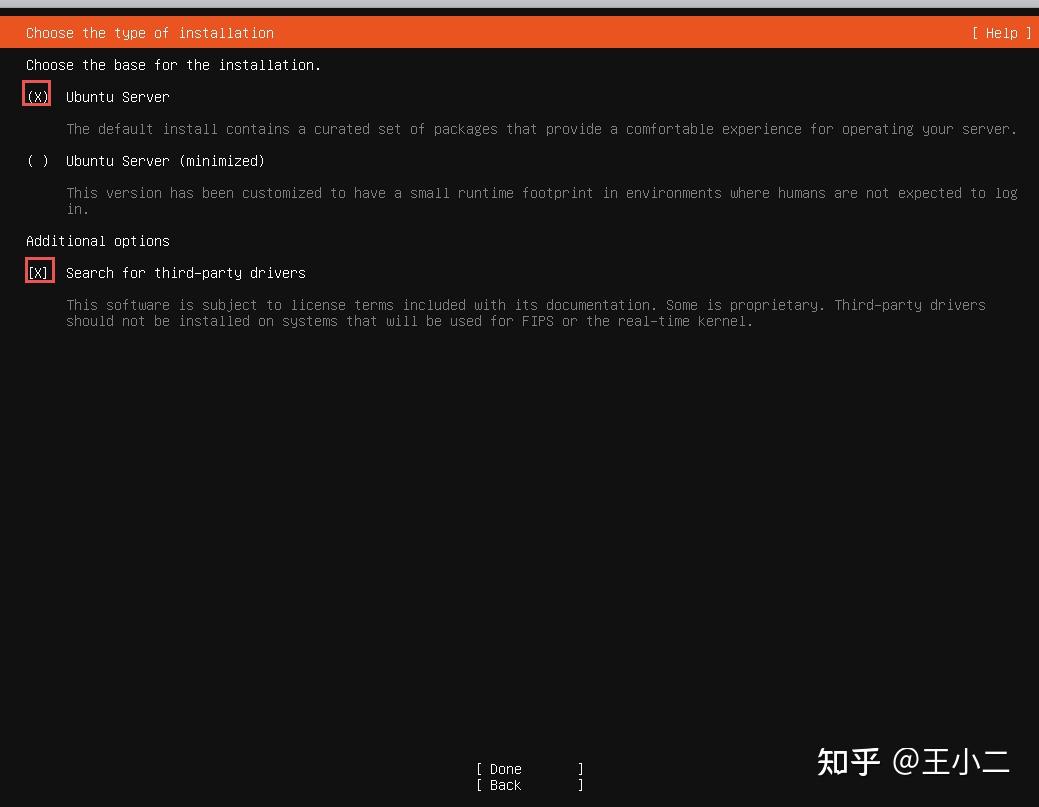
3.5、选择Ubuntu Server,Done,回车
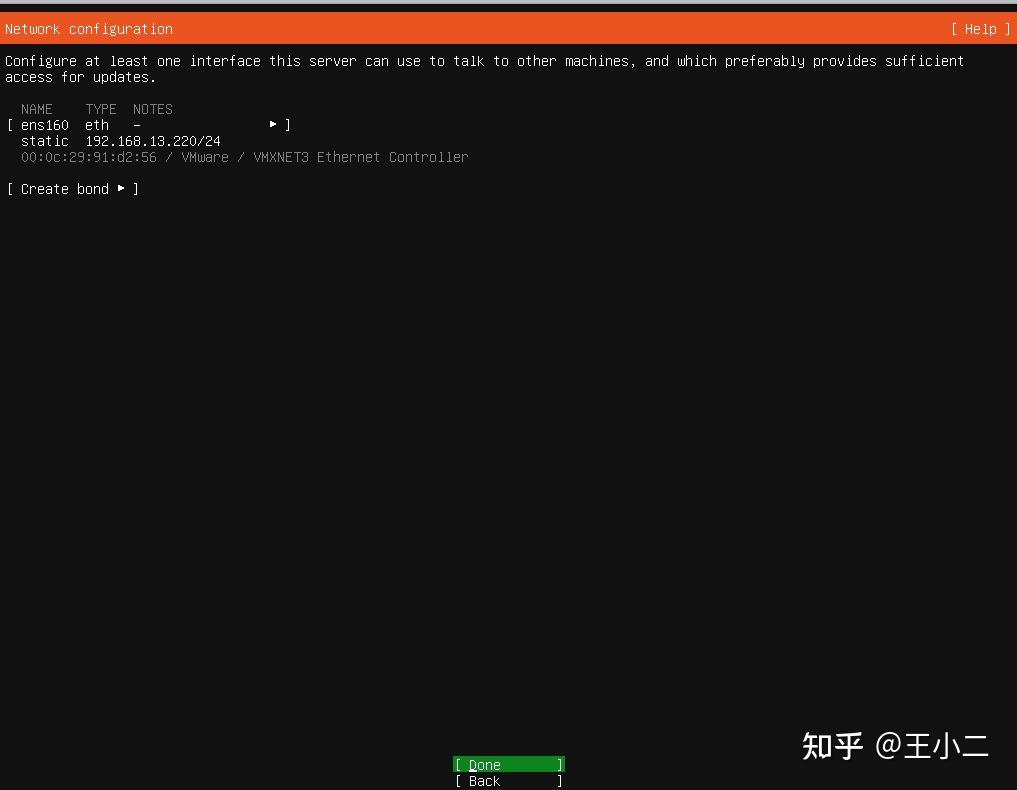
3.6、配置网络,选择IPV4
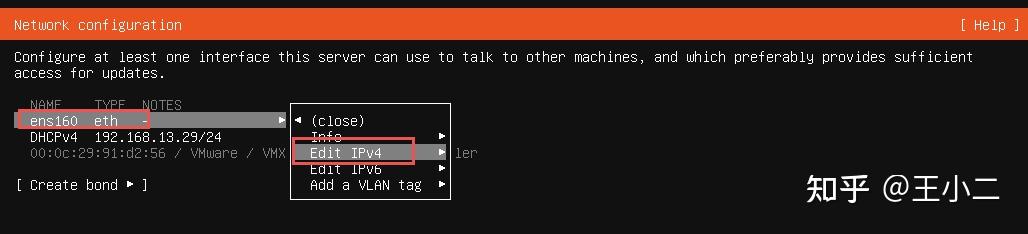
手动配置

根据自己的网络地址段,配置IP地址、网关、DNS
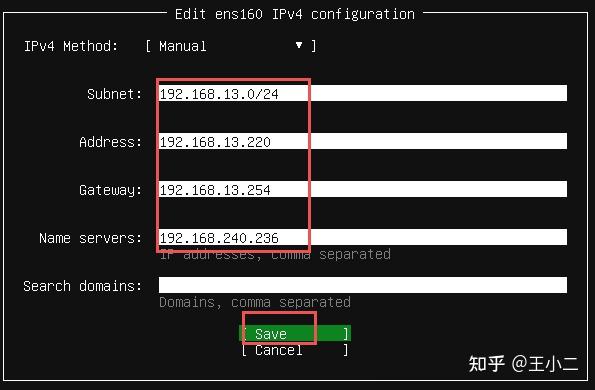
done,回车
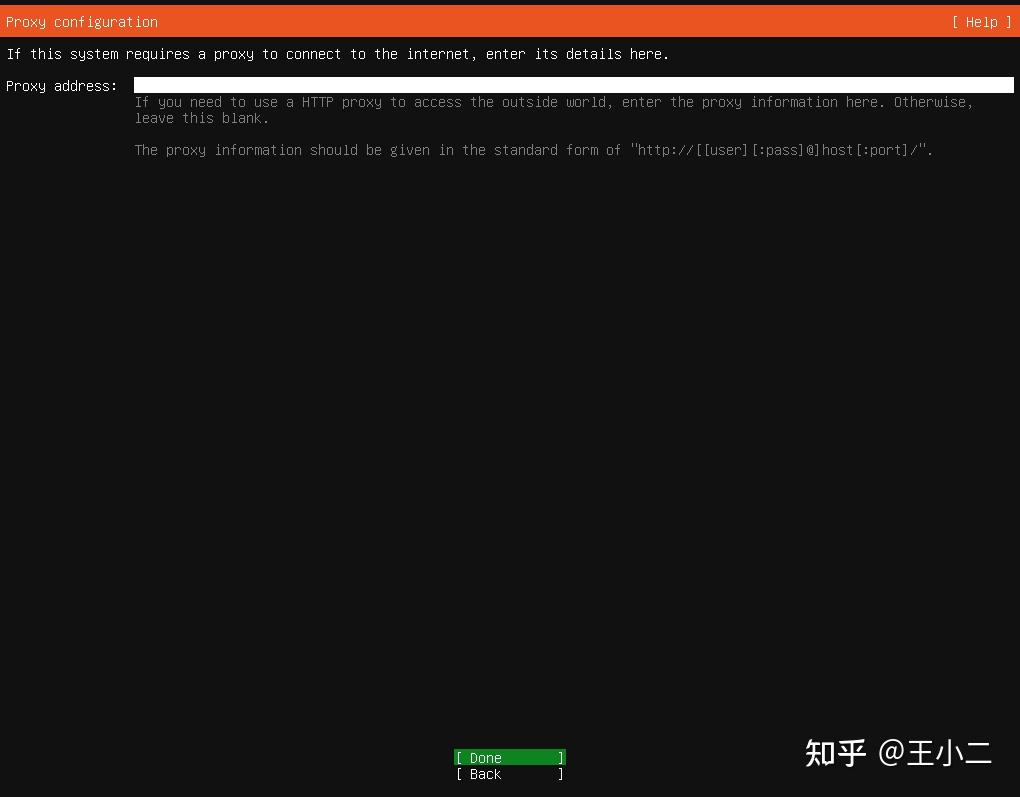
3.7、不配置代理(如果需要代理上网的,请自行设置)
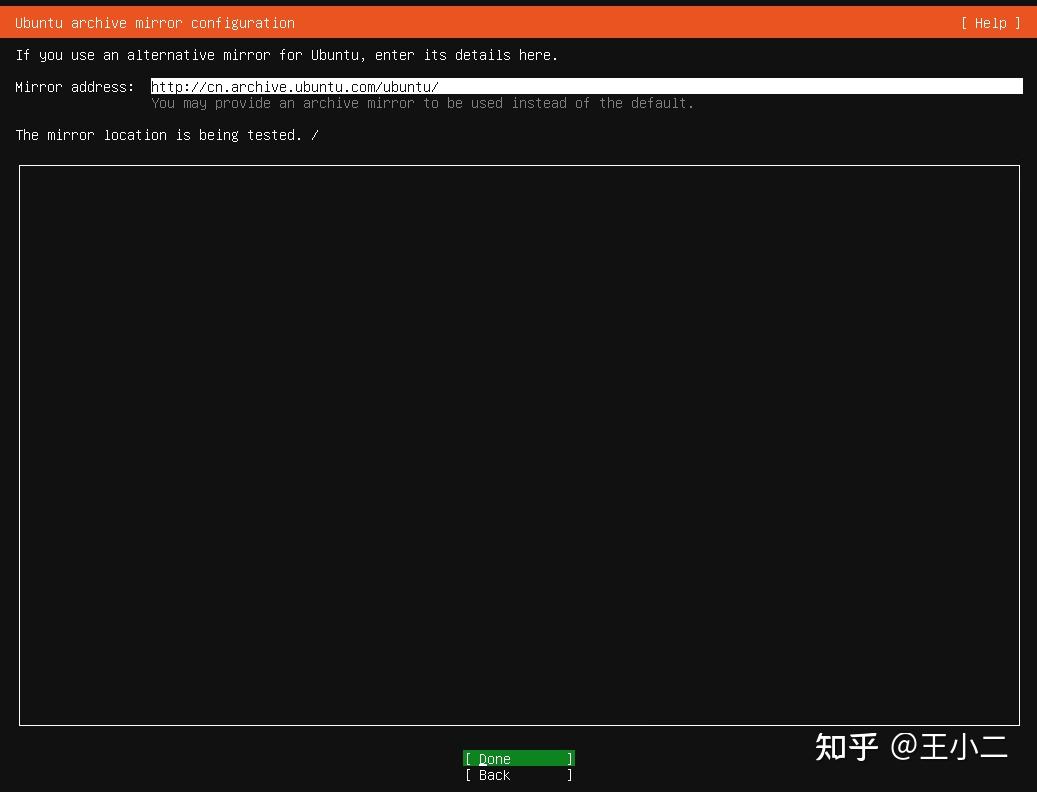
3.8、Ubuntu源,默认即可,也可以设置阿里的
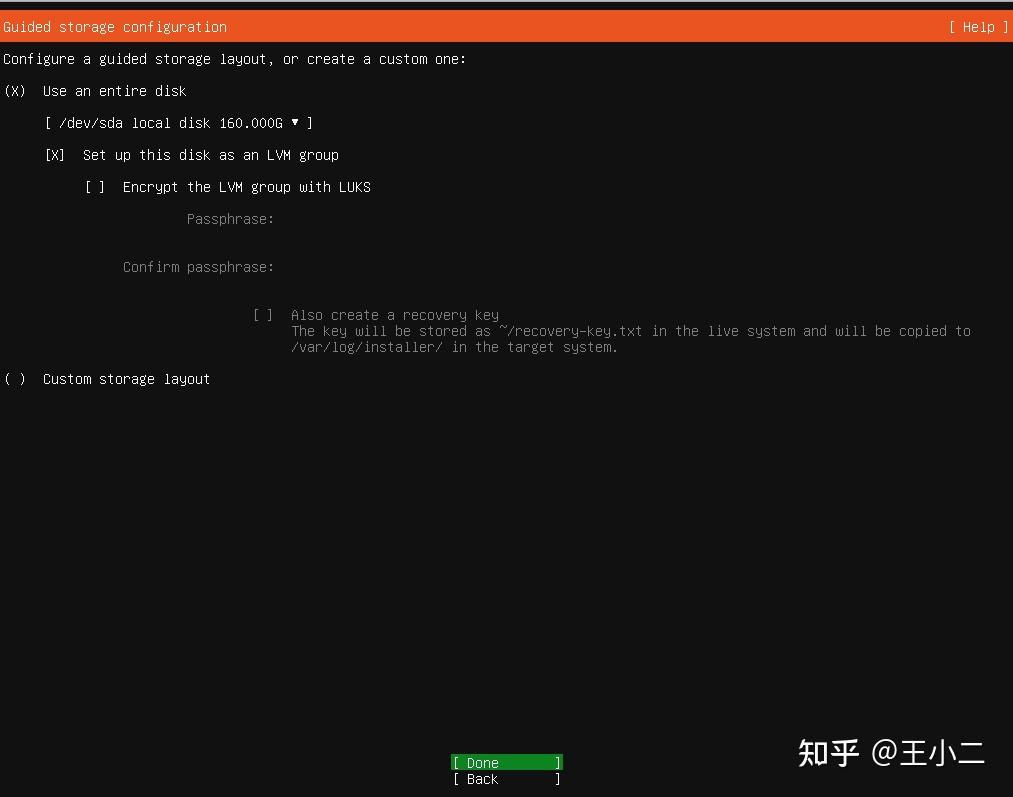
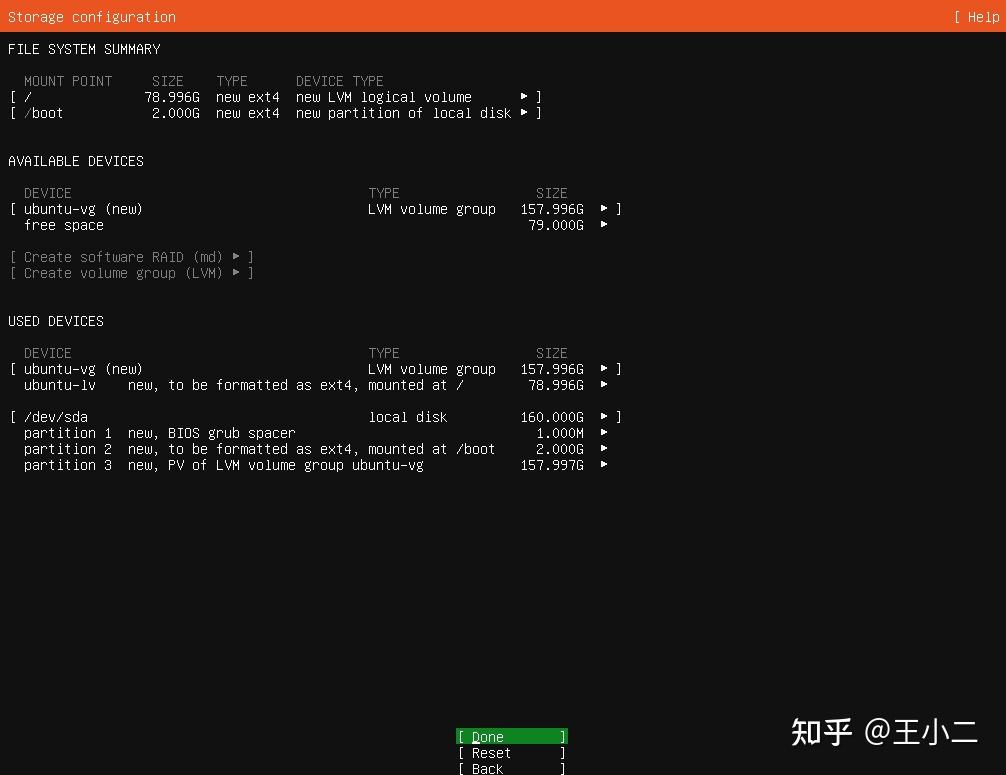
3.9、硬盘分区,默认即可
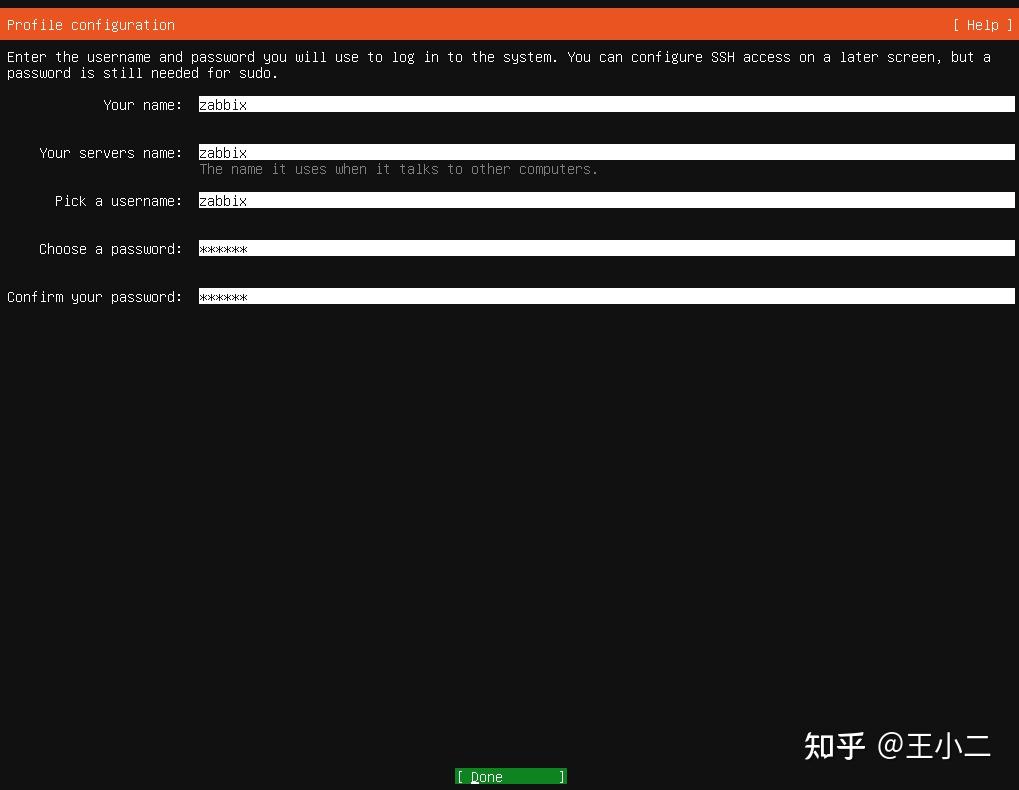
3.10、创建用户和密码
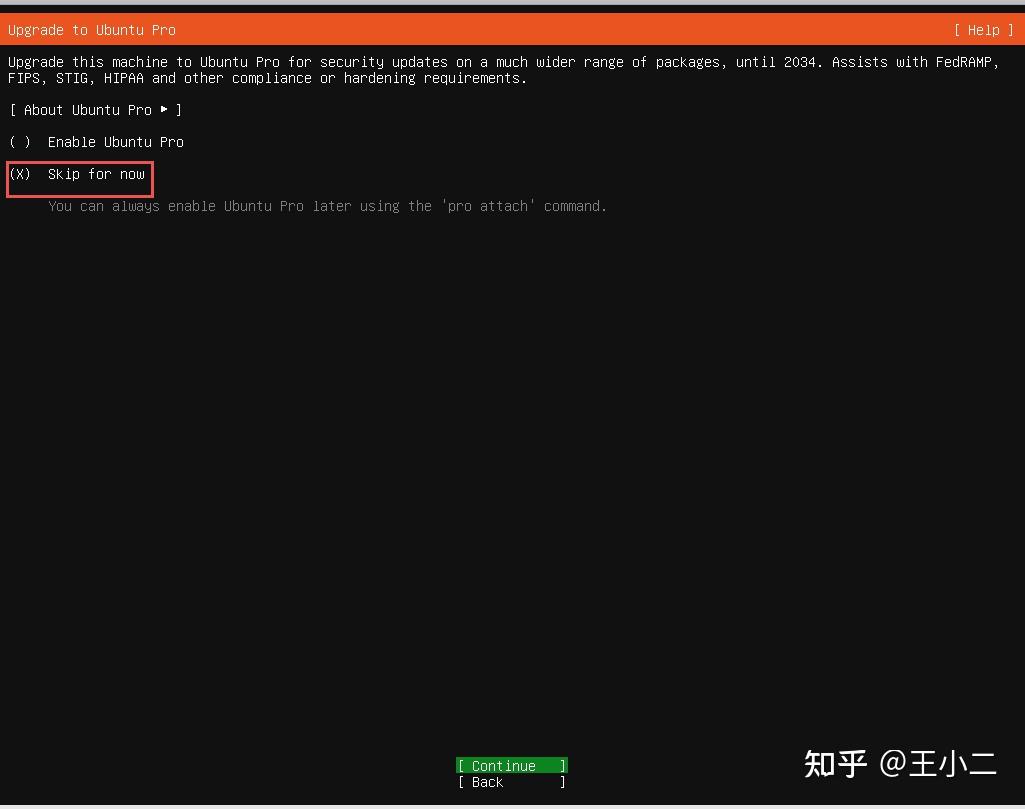
3.11、不更新
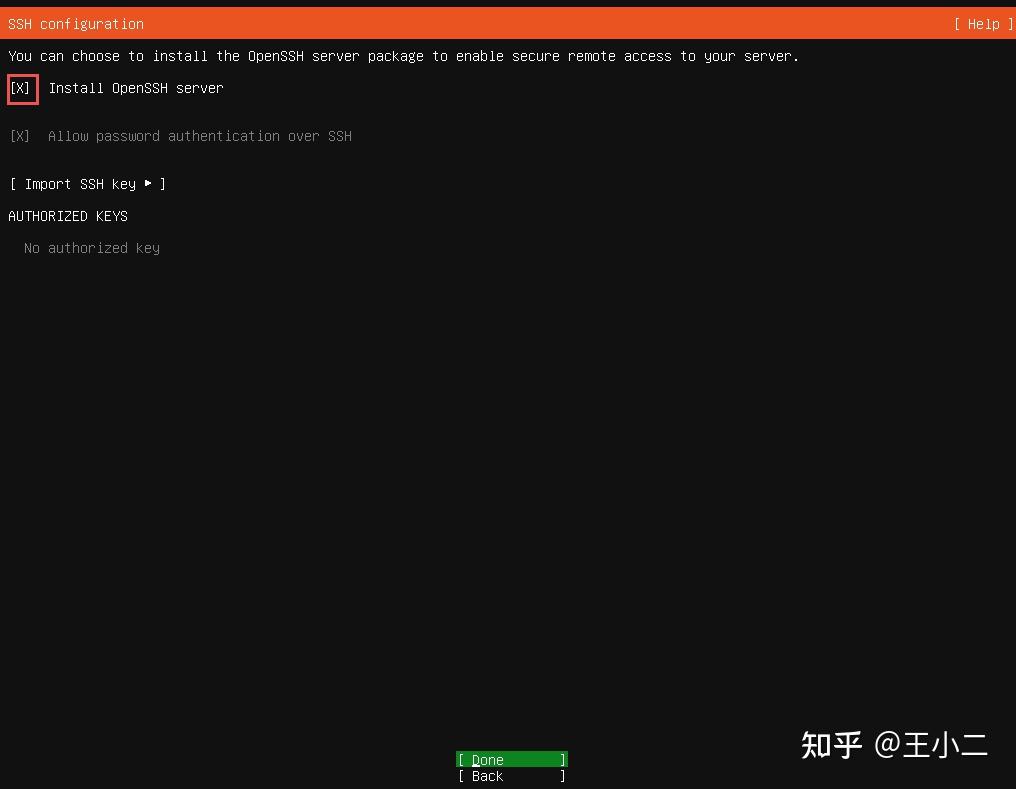
3.12、安装SSH
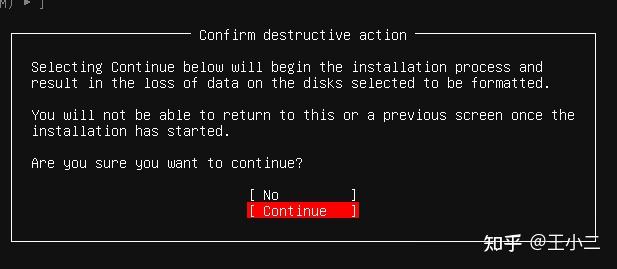
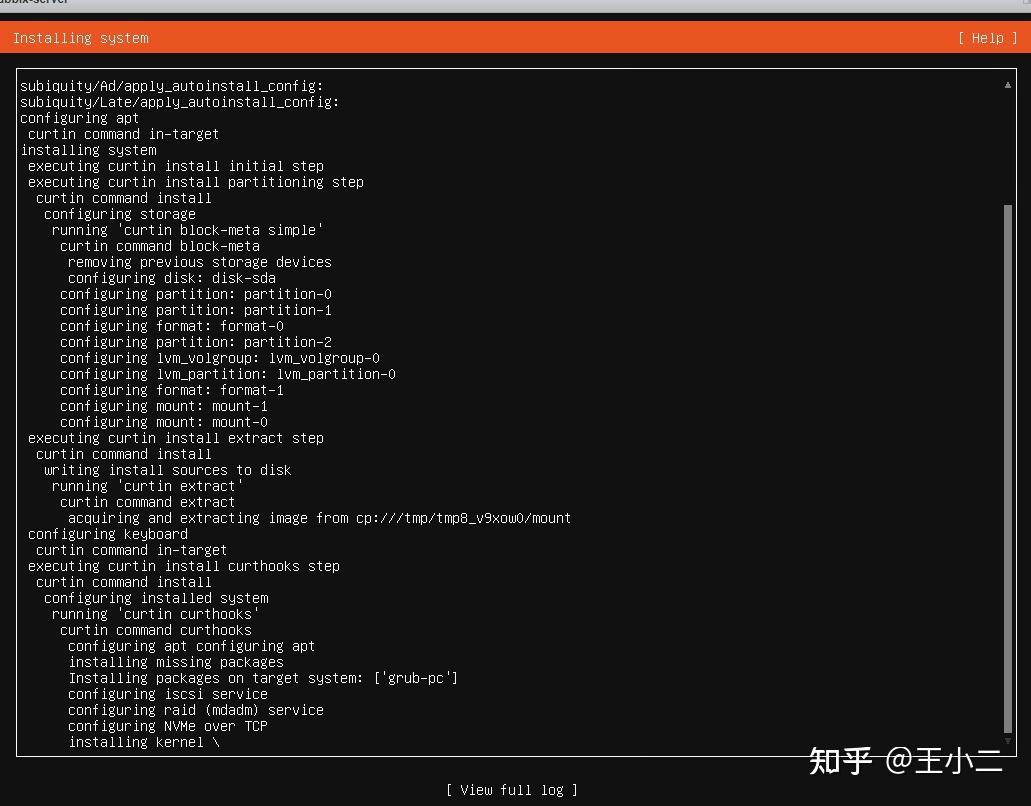
3.13、开始安装,时间有点长
3.14、重启系统
3.15、回车,退出光驱,不挂载

3.16、登录
输入安装系统时的用户名和密码

3.17、切换到root权限

到此为止,系统安装完
4、网络配置
4.1、查看IP地址
ifconfig没有此命令,需要安装,执行命令:apt install net-tools
root@zabbix:~# ifconfig
Command 'ifconfig' not found, but can be installed with:
apt install net-tools
root@zabbix:~#apt install net-tools        #安装此命令
4.2、配置IP地址和网关、DNS
root@zabbix:/etc/netplan# cat 50-cloud-init.yaml
# This file is generated from information provided by the datasource.  Changes
# to it will not persist across an instance reboot.  To disable cloud-init's
# network configuration capabilities, write a file
# /etc/cloud/cloud.cfg.d/99-disable-network-config.cfg with the following:
# network: {config: disabled}
network:
    ethernets:
        ens160:
            addresses:
            - 192.168.13.220/24
            nameservers:
                addresses:
                - 192.168.240.236
                search: []
            routes:
            -   to: default
                via: 192.168.13.254
    version: 2
4.3、重启网卡服务
root@zabbix:/etc/netplan# netplan apply4.4、ping网关,测试连通性
root@zabbix:/etc/netplan# ping 192.168.13.254
PING 192.168.13.254 (192.168.13.254) 56(84) bytes of data.
64 bytes from 192.168.13.254: icmp_seq=1 ttl=255 time=3.28 ms
64 bytes from 192.168.13.254: icmp_seq=2 ttl=255 time=0.608 ms
5、配置ssh可以远程登录
5.1、修改配置文件
默认是不允许root登录的,修改一下/etc/ssh/sshd_config文件,将33行改成如下
33 PermitRootLogin yes5.2、重启ssh服务
root@zabbix:/etc/ssh# systemctl restart ssh5.3、查看服务状态
Active: active (running)表示服务正常
root@zabbix:/etc/ssh# systemctl status ssh
● ssh.service - OpenBSD Secure Shell server
Loaded: loaded (/usr/lib/systemd/system/ssh.service; disabled; preset: enabled)
Active: active (running) since Fri 2025-01-17 05:11:47 UTC; 41s ago
TriggeredBy: ● ssh.socket
Docs: man:sshd(8)
man:sshd_config(5)
Process: 1964 ExecStartPre=/usr/sbin/sshd -t (code=exited, status=0/SUCCESS)
Main PID: 1965 (sshd)
Tasks: 1 (limit: 19105)
Memory: 1.2M (peak: 1.3M)
CPU: 76ms
CGroup: /system.slice/ssh.service
└─1965 "sshd: /usr/sbin/sshd -D [listener] 0 of 10-100 startups"
Jan 17 05:11:47 zabbix systemd[1]: Starting ssh.service - OpenBSD Secure Shell server...
Jan 17 05:11:47 zabbix sshd[1965]: Server listening on :: port 22.
Jan 17 05:11:47 zabbix systemd[1]: Started ssh.service - OpenBSD Secure Shell server.
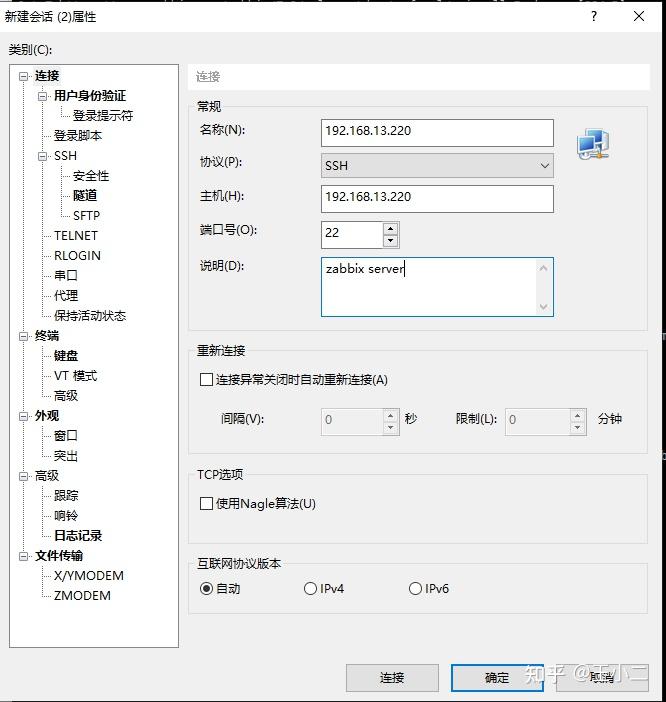
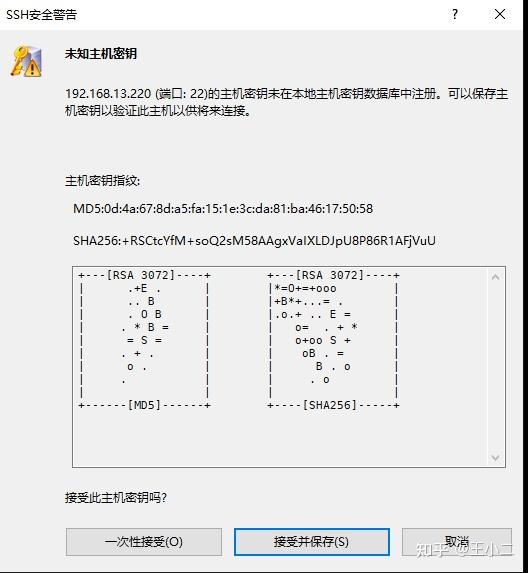
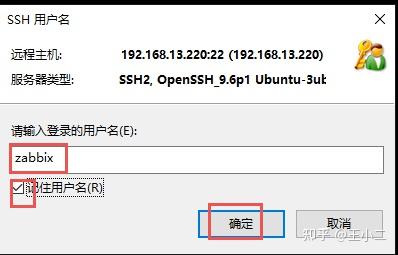
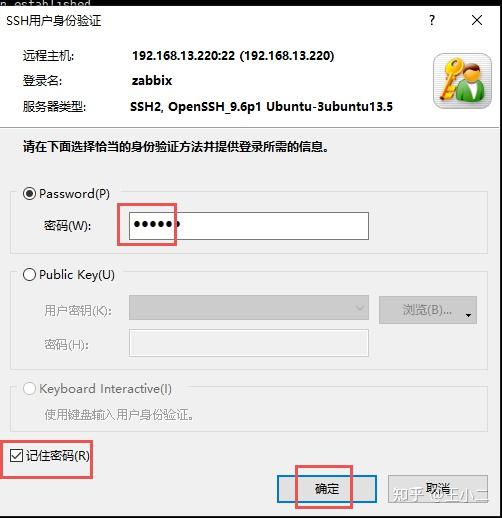
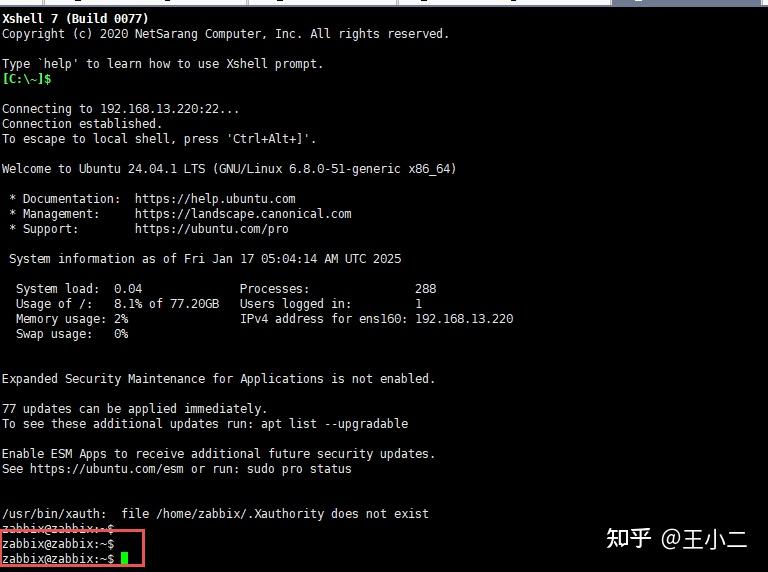
root@zabbix:/etc/ssh# 5.4、ssh连接服务器
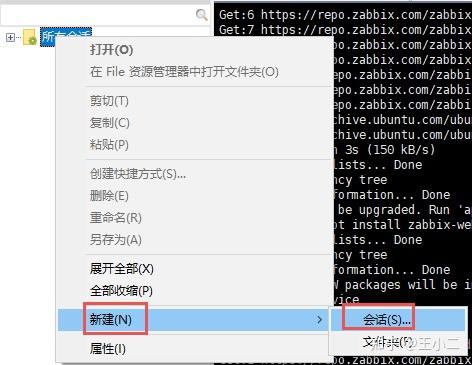
通过SSH工具,如:xshell等工具连接
6、Ubuntu国内阿里源配置
手动更改
用你熟悉的vi编辑器打开:/etc/apt/sources.list,替换默认的http://archive.ubuntu.com/为https://mirrors.aliyun.com/
deb https://mirrors.aliyun.com/ubuntu/ noble main restricted universe multiverse
deb-src https://mirrors.aliyun.com/ubuntu/ noble main restricted universe multiverse

deb https://mirrors.aliyun.com/ubuntu/ noble-security main restricted universe multiverse
deb-src https://mirrors.aliyun.com/ubuntu/ noble-security main restricted universe multiverse

deb https://mirrors.aliyun.com/ubuntu/ noble-updates main restricted universe multiverse
deb-src https://mirrors.aliyun.com/ubuntu/ noble-updates main restricted universe multiverse

# deb https://mirrors.aliyun.com/ubuntu/ noble-proposed main restricted universe multiverse
# deb-src https://mirrors.aliyun.com/ubuntu/ noble-proposed main restricted universe multiverse

deb https://mirrors.aliyun.com/ubuntu/ noble-backports main restricted universe multiverse
deb-src https://mirrors.aliyun.com/ubuntu/ noble-backports main restricted universe multiverse
编辑于 2025-02-07 15:03・IP 属地北京